|
ADAPTING TBI |
|
Overview |
Putting TBI on a crate engine isn't as easy as just slapping it on and starting the car. There are a few areas that need attention. This section addresses some of those areas, and how to fix some problems that may come up.
|
TBI Adaptor Plate |
|
| Turbo City Adaptor | |
| Turbo City Part #: 635-605 |
About $50.00 |
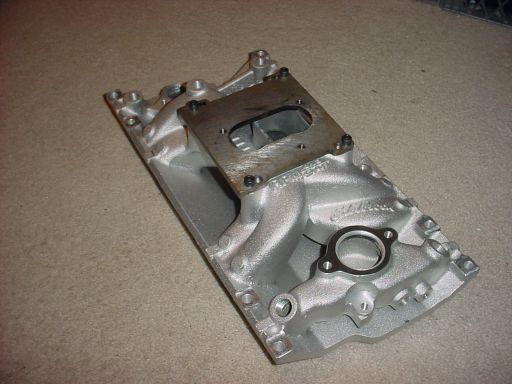
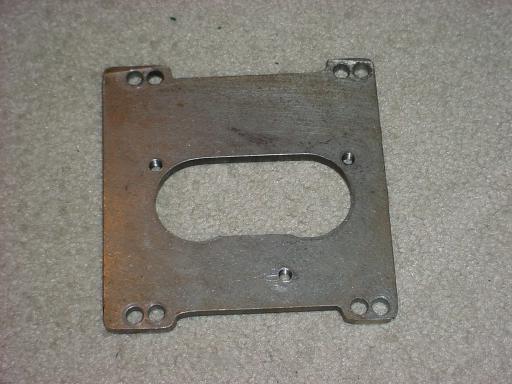
Since I used a crate engine with Vortec heads, which have very few intakes available so far, I had t adapt a carburetor intake to use TBI. Luckily TBI and a carb intake are very similar, except for the mounting area for the throttle body or carb. Carbs use 4 bolts that secure them down at the corners of the mounting area. TBI uses only three bolts, which are located more towards the center of the mounting area. To accommodate for this, you have to use an adaptor plate. Mine is shown below:
The picture below shows the adaptor plate mounted on the intake.
|
|
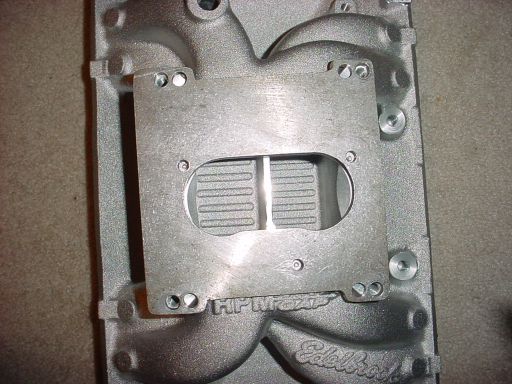
adaptorplate-2.jpg |
Angle view from top. |
|
|
|
|
|
|
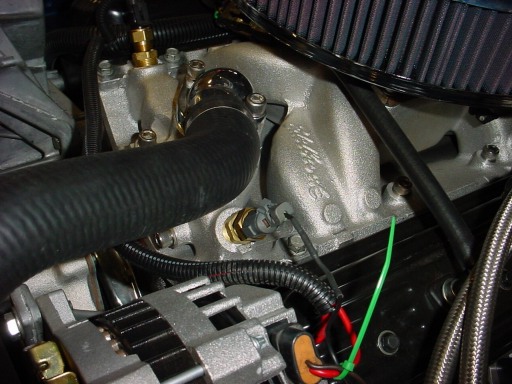
machine-2.jpg |
Top view. Also, this shot shows the machining of the intake. |
|
|
|
|
|
Throttle Bracket |
|
Modified Factory Bracket |
The throttle bracket was a problem because of the new bolt pattern on the intakes for Vortec heads. On the original engine, the throttle bracket bolted to one of the intake bolts on the driver's side, and one of the coil bolts. Well, the Vortec heads don't have the intake bolts in the same spot, so that couldn't work. I did however still use the coil bolt as a (the only) mounting bolt. Since I don't use the cruise control on the car, I machined the bracket so that the mounting "square" for cruise was gone.
I also had to machine the area around the coil bolt hole to fit the new intake. The last modification that I made was to drill a hole next to the old intake bolt hole so that the intake bolt on the existing intake could fit inside of it. It is kinda hard to explain, but works well.
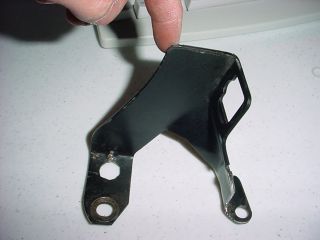
The modified throttle Bracket.
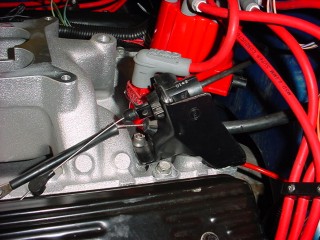
Installed on the intake.
|
Component Locations |
Since the 350 HO engine uses GM's Vortec heads, there was no way to reuse the stock intake (not that I would anyways). The Intake I decided on is the Edelbrock Performer RPM Air Gap. This intake had similar ports, etc. to the stock intake, but definitely not the same. Here are some pics and some info about what I changed with the new intake:
|
|
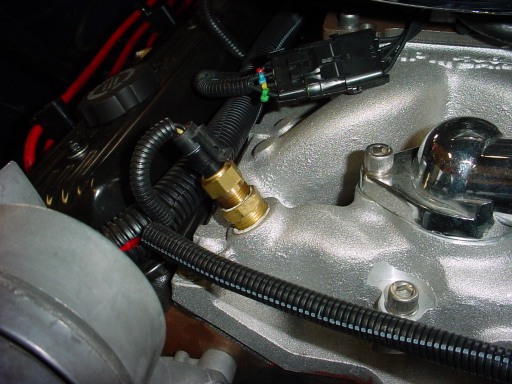
coolant_temperature_sensor.jpg |
The coolant temperature sensor (CTS) is pretty close to the stock location. The only difference is that an adaptor had to be used to get it to fit. You can see the adaptor in the picture at the left. It just increases the size of the threads so that the CTS will screw in correctly. I'm not sure of the size, or the threading, but I am pretty sure it is a basic pipe thread. |
|
|
|
|
|
|
fan_switch.jpg |
The place that I put the fan switch is a lot different than the stock location. It is supposed to be between the exhaust ports of the #6 and #8 cylinders. I didn't like this location because of the fact that it was easy to burn the connector of the fan switch on the header tube, and it was also harder to route the signal wire. (And, it looked ugly.) |
|
|
|
|